Why Let AI Work for You?
In recent years, “AI agent” has become a hot topic. Many companies have invested in development, such as MTK’s Dago project and ChatGPT’s former Operator feature. Although we are still some distance from true general-purpose AI agents, we can start with more practical tasks—like letting AI regularly send out tech news summaries as your personal assistant.
This article will guide you through the first step: using n8n to create your own AI automation workflow. From fetching news via RSS, summarizing with OpenAI, to sending emails through Gmail—all automatically.
Introduction to the Automation Tool: What is n8n?
Although there are already many comparison articles online, I won’t repeat the features and theories here. However, I’ll briefly show you a simple comparison chart to quickly highlight the differences.

Key Implementation: Quickly Deploying n8n with Docker
Let’s get started right away!
We’ll deploy n8n using Docker, which is ideal for quickly getting the environment up and running and grasping the big picture.

Step 1: Make Sure Docker is Installed
If you haven’t installed Docker yet, download and install it from the Docker website.
Step 2: Create a Folder for n8n Configuration
| |
Step 3: Create docker-compose.yml
Create a new file in the same directory with the following content (you can use your own Gmail OAuth or basic auth):
| |
Step 4: Start the Service
In the terminal, run:
| |
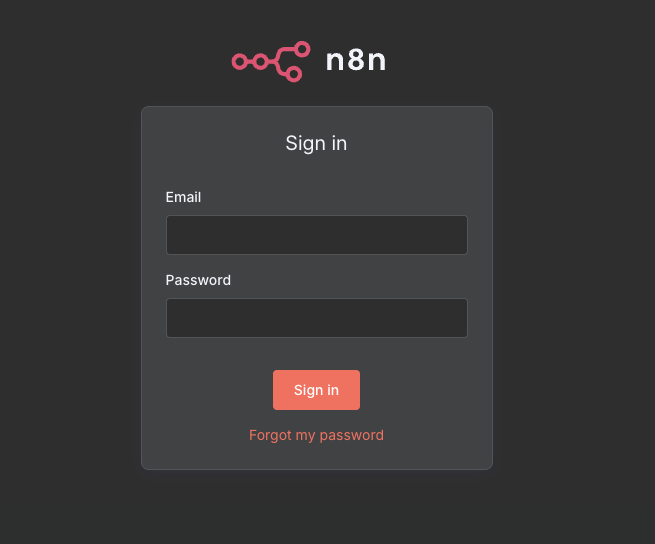
Once started, go to http://localhost:6666 to access the n8n interface.
If you see the following screen, congratulations—you’ve taken the first step!
Apply the AI Tech Newsletter Template
Next, we’ll apply a pre-made AI tech news summary template to save time from designing from scratch.
Import the Official Workflow Templates
After registering your n8n account, click “Templates” at the bottom left of the site.
There are over 2300+ templates available for immediate use.

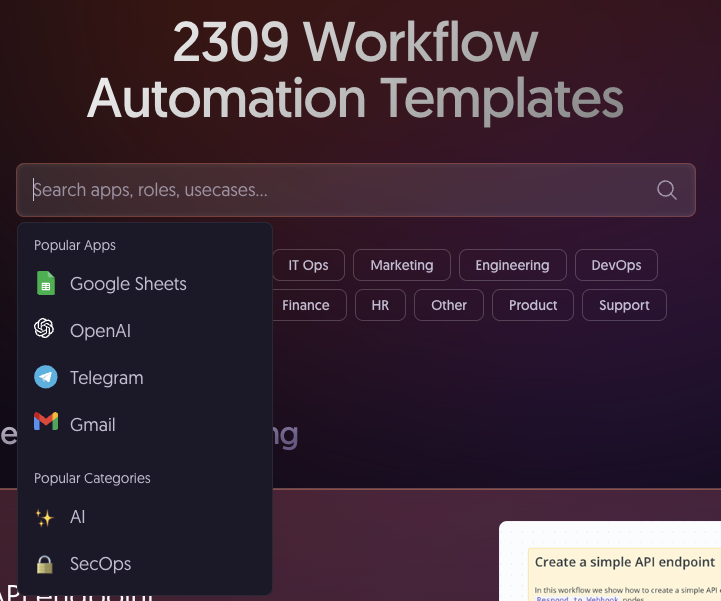
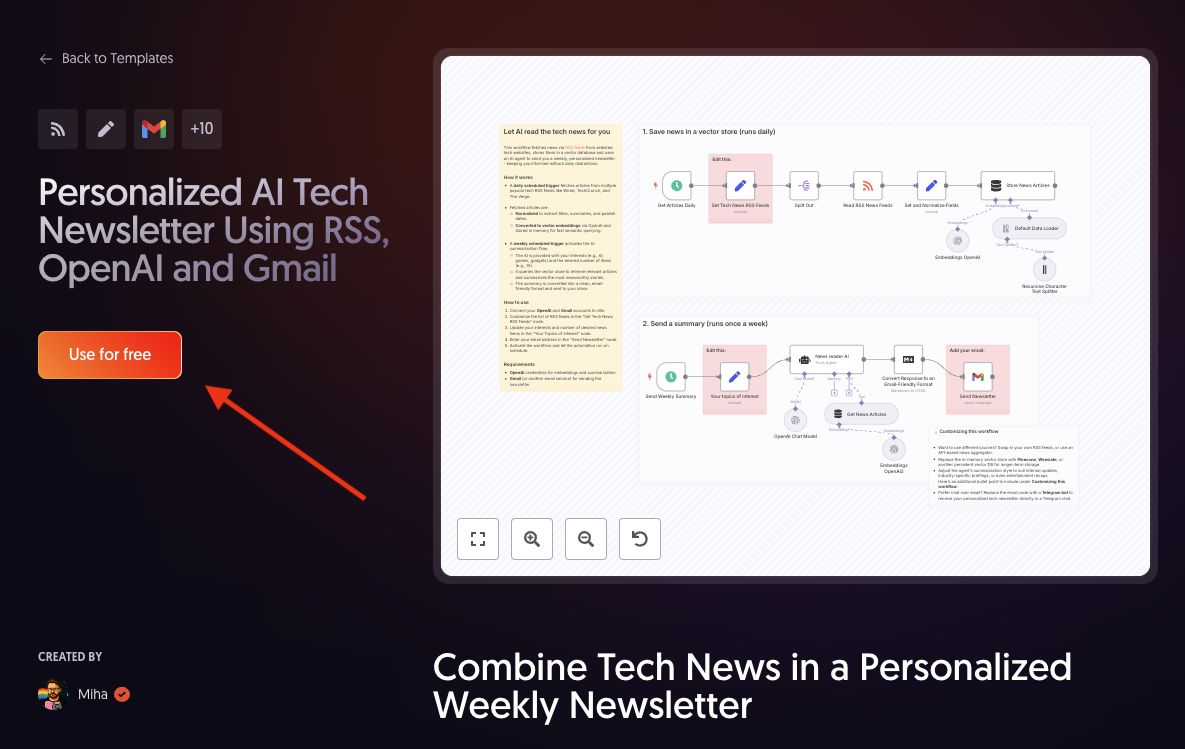
Find the template “Personalized AI Tech Newsletter.”
Click “Use for free,” then “Copy template to clipboard.”
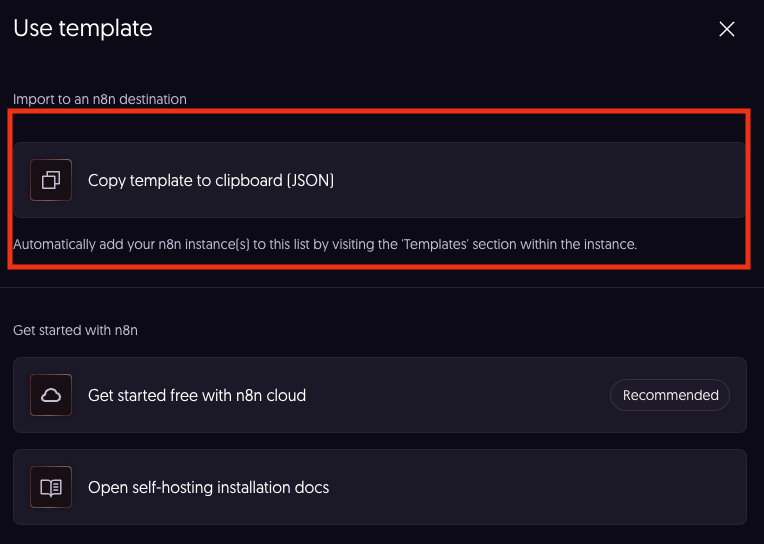
Go back to your environment, create a new file and paste the template:
| |
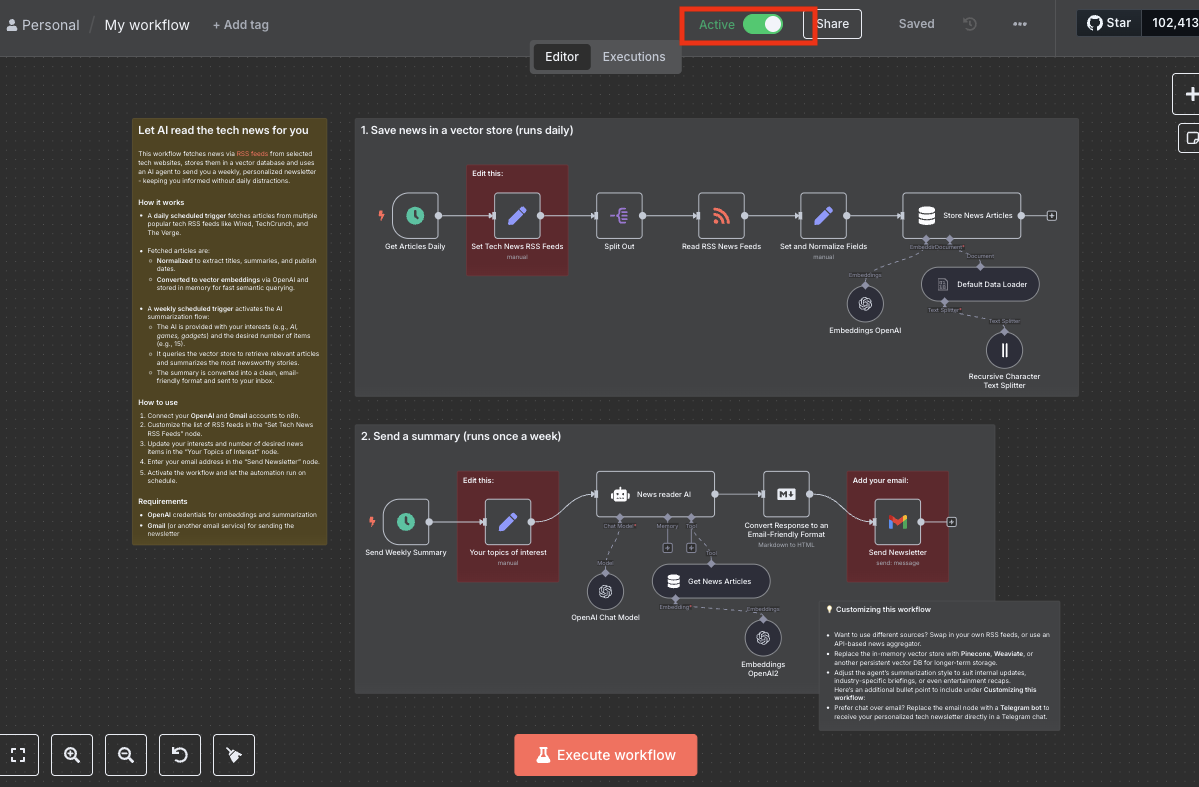
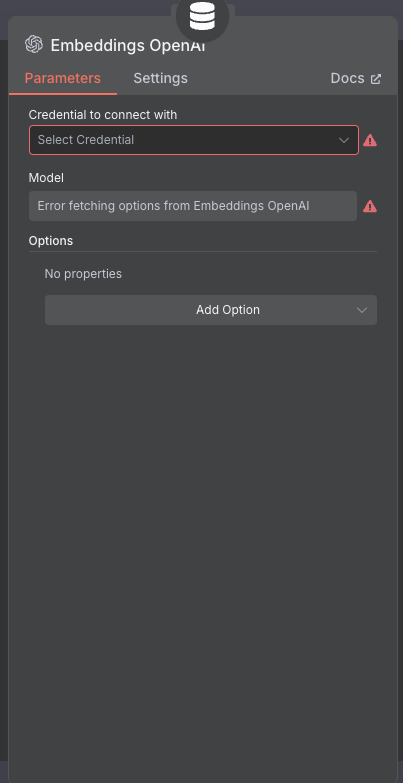
After successfully importing the template, you’ll see a complete workflow. However, many nodes will show a red triangle, indicating missing credentials or configuration.

Don’t worry—you only need to configure two key parts:
Configure OpenAI and Gmail
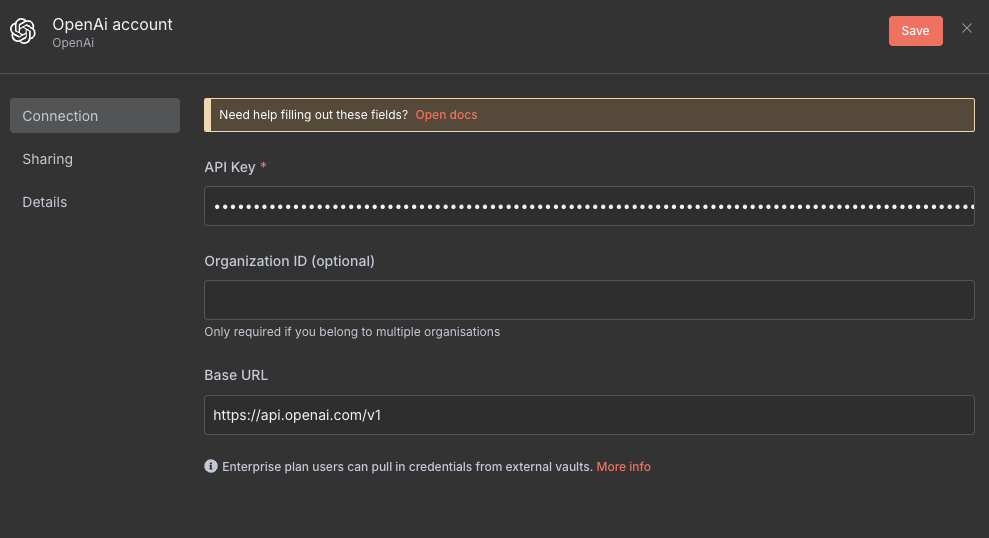
OpenAI API Key Configuration
The workflow sends RSS tech articles to ChatGPT for summarization, so you need a valid OpenAI API key.
Click the triangle next to the OpenAI node and select credentials.
To obtain an API key:
| |
P.S. API key usage requires payment—it’s billed separately from the ChatGPT subscription.
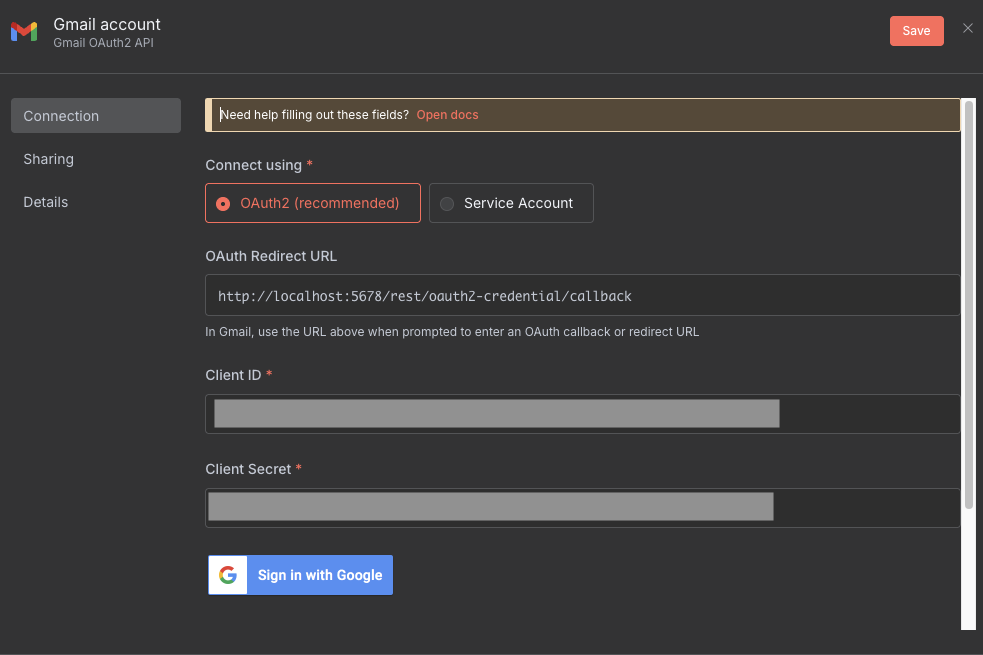
Gmail API Integration
After the AI summary is complete, Gmail will send the newsletter to your inbox. You need to set up Gmail API through Google.
If it’s your first time using Google API, it can be a bit complex. I recommend the following tutorials:
| |
Follow the same triangle click method for setup.
Common Issues with Google OAuth Verification
If you’ve followed all the steps and reached the Gmail API authentication, but got stuck—don’t worry, you’re not alone.
It took me about 8–9 hours to get everything working. The main issue lies in Google OAuth 2.0 verification.
Why the Problem?
Google OAuth requires a Redirect URI, a publicly accessible URL where Google will redirect you after authentication.
However, most people deploy n8n locally (localhost) or in an internal Docker network, which is not publicly accessible.
So Google can’t “see” your n8n. Here are some solutions:
Solutions:
| Method | Pros | Cons |
|---|---|---|
| Use Cloud VPS | Stable, production-ready | Maintenance required, not free |
| n8n.cloud official hosting | Very simple, plug-and-play | Free version limits to 200 executions |
| Cloudflare Tunnel (best) | Free, flexible, exposes localhost | Requires cloudflared installation |
I chose the Cloudflare Tunnel solution.
Cloudflare Tunnel Setup
1. Install cloudflared
| |
2. Login and Create Tunnel
| |
3. Create Config File ~/.cloudflared/n8n.yaml
| |
4. Adjust docker-compose.yml Port
| |
Use the port you set for n8n inside Docker. The WEBHOOK_URL must be your Cloudflare domain for OAuth redirection.
5. Start Service and Tunnel
| |
Final Check: Running the Automation
Open the n8n editor, click “Execute Workflow,” and verify each node:
If successful, you’ll see green checkmarks:

If failed, you’ll see red triangles:

Start debugging if needed 😢
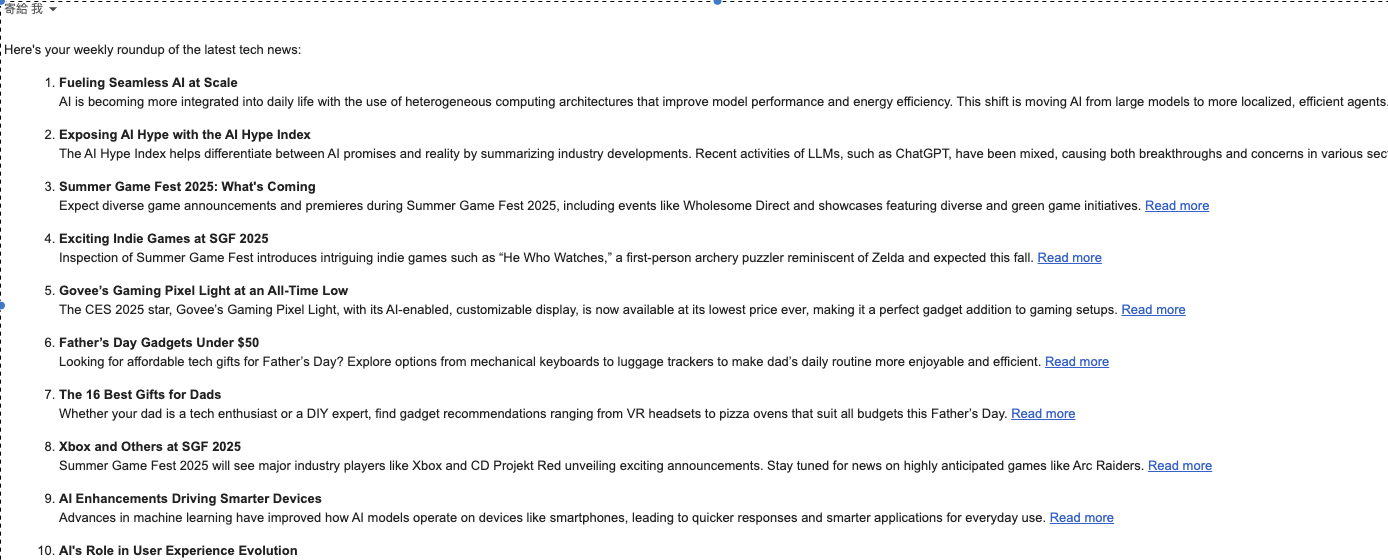
Once all nodes are checked off, congratulations! You should receive your personalized AI-generated tech newsletter via Gmail within seconds.
Lastly, don’t forget to activate the workflow to make it fully automatic: